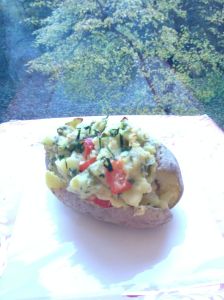
Stuffed sweet potato


stuffed sweet potato spinach feta


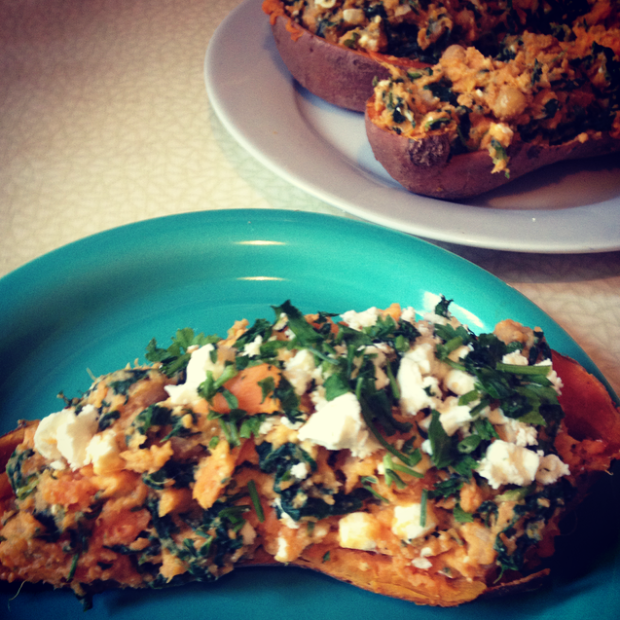
After posting my dad’s stuffed jacket potato recipe a while ago, I figured I’d mix things up and give sweet potatoes a go. Sweet potato stuffed with spinach, hummus and feta is not only delicious and simple to throw together, it’s also super nutritious. The hummus and chickpeas are packed with protein and the spinach provides iron, two of the main things that I as a vegetarian can’t get enough of.

Anyway, the weather has finally started brightening up in Austria and this dish will definitely be one of my staple lunches this summer. If you’ve got any hummus or chickpeas left after making this recipe, you might want to check out hummus pasta salad or chana masala chickpea curry.

Ingredients:

  • 1 sweet potato
  • 2 tbsp hummus
  • 3 balls of frozen spinach, de-frosted
  • 4 tbsp chickpeas
  • 100g feta cheese (alternatively, leave this out to make the dish vegan)
  • 1/4 lemon, squeezed (optional)
  • sprinkle of fresh parsley (optional)

Pro tip: Mix things up a bit by going for garlic or lemon hummus instead of plain!

Method:

1. Prick the sweet potato a few times with a fork then pop it in the microwave for around 6-8 minutes or until soft.

2. Cut it in half, then remove the fleshy insides from the sweet potato skin. Scoop the flesh into a bowl and save the skins for later.

3. Mash the sweet potato flesh with a fork until all of the lumps are gone and the mixture is smooth.

4. Stir in the hummus before tossing in the spinach, chickpeas, feta and lemon. Combine thoroughly.

5. Spoon the mixture back into the potato skins then top with more feta and parsley.

It tastes great warm or cold – glass of summery white wine optional yet recommended!


Inspired by this recipe from Cookin’ Canuck.
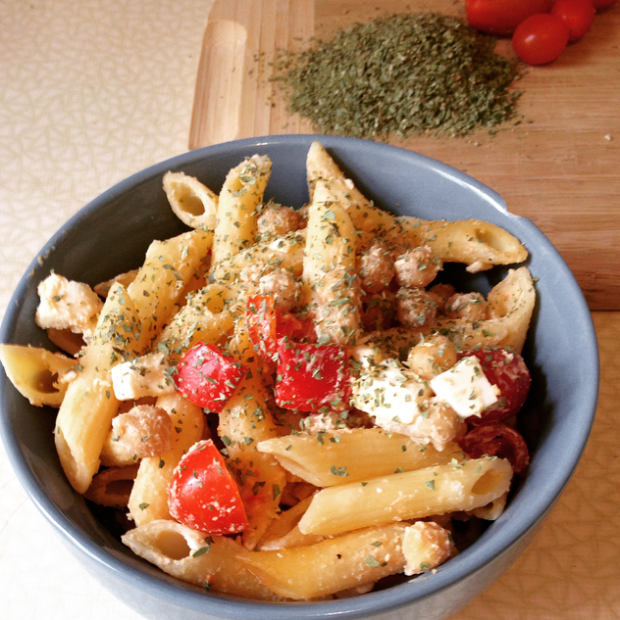
Hummus and chickpea pasta salad

Hummus and chickpea pasta salad

I love that feeling, where you think you’ve got nothing to eat at home and are just about to reach for the take-out menu but then you realise that, actually, some of the random things you have in your cupboard might not taste so bad with each other after all. And then a few minutes of experimenting later, you realise you have a new, favourite dish to add to your arsenal.

Even though I love pasta and am slightly obsessed with hummus, I’d never really thought of putting them together before. Anyway, I’m glad I did because it just works, and the hummus and chickpeas add protein to an otherwise carb-heavy dish. So you can enjoy this almost guilt-free treat at summer buffets, barbequeues or even just when treating yourself to lunch.

Ingredients

  • four handfuls of pasta
  • pinch salt
  • pot of hummus
  • 8 cherry tomatoes, chopped
  • 1/2 a red pepper, chopped
  • 1/2 pack of feta cheese, cubed (alternatively, you can leave this out to make the dish vegan)
  • 3/4 tin of chickpeas
  • basil (I used dried because it was all I had, but fresh would be even better)

(serves 2)

Pro tip: to make this dish even more nutritious, use whole-wheat pasta and add some spinach.

Method

1. Toss the pasta into salted, boiling water and allow to simmer for around 8-10 minutes or until soft.

2. Drain the water away.

3. Stir in the hummus, cherry tomatoes, pepper, feta cheese, chickpeas and basil.

4. Can be enjoyed warm but best served cold – ideally on a lovely summer day with a glass (or two) of white wine!

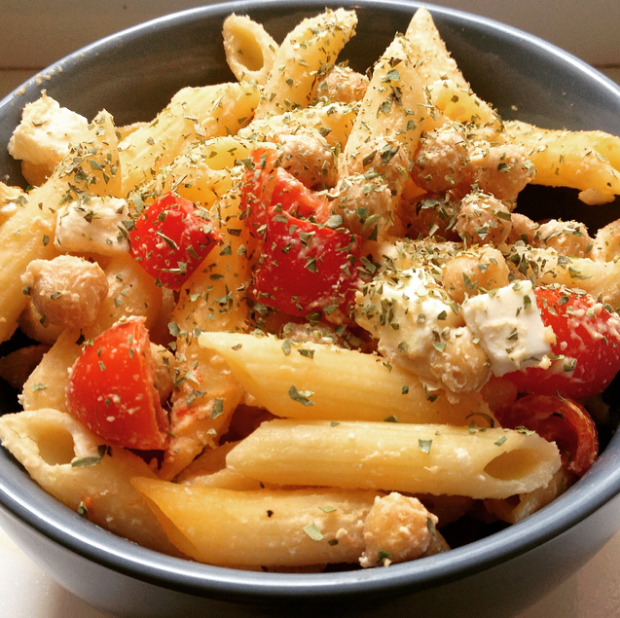
Hummus chickpea pasta

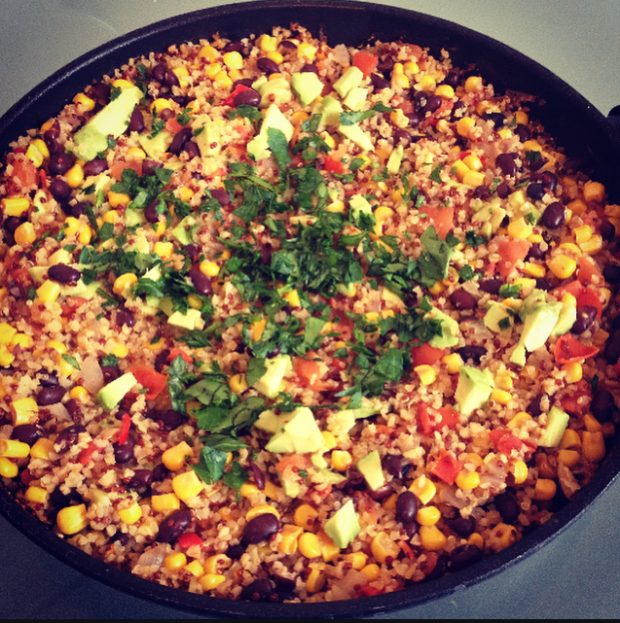
Mexican quinoa, black bean and avocado mix


Mexican quinoa

Quinoa may have recently achieved superfood status thanks to its high protein, fibre and iron content,but  wild quinoa was first harvested in Mexico around 7000 years ago. I decided to mix it with other traditional Mexican ingredients such as blackbeans, sweetcorn, spices, lime and avocado. It’s super easy to make as you can just toss everything in one pan and voilà. Mexican-style quinoa mix is also a guilt-free option which proves that healthy doesn’t have to mean boring and tasteless. Although if you do pair it with tacos, salsa and sour cream like we did, you may want to hit the gym afterwards.

Ingredients

  • 1 onion, finely chopped
  • 3 cloves garlic, finely chopped
  • 1 red hot chilli pepper
  • 10 chopped cherry tomatoes
  • 500ml vegetable broth in boiling hot water
  • 250g quinoa, rinsed
  • 1 can black beans, drained
  • 1 can sweetcorn (corn), drained
  • 1 teaspoon chilli (chili) powder
  • 1 teaspoon cayenne pepper
  • 1/2 teaspoon cumin
  • Salt and pepper to taste
  • 1 avocado, peeled, de-seeded and chopped
  • Juice of one lime
  • Fistful of fresh, finely chopped parsley

 Method

1. Fry the onion and garlic in some oil for two minutes then toss in the chilli pepper and chopped tomatoes.

2. Pour in the vegetable broth and then toss in the quinoa, black beans and sweetcorn (corn) then leave to simmer for around 15 minutes, stirring occasionally, until the quinoa is fluffy.

3. Season with chilli powder, cayenne pepper, cumin, black pepper and salt.

4. Stir in chopped avocado and lime juice.

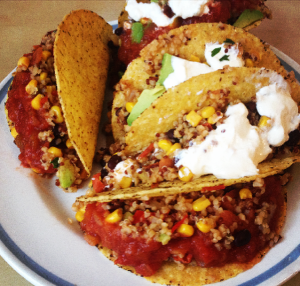
5. You can either garnish with fresh parsley and serve as a healthy quinoa Mexican salad, or you can take the slightly less healthy option and serve with taco shells, salsa and sour cream. No prizes for guessing what we did….

quinoa tacos

My boyfriend’s plate, piled mountain-high with quinoa tacos. I  assume he liked them…


Inspired by this Mexican quinoa recipe and this quinoa tacos recipe.


Shakshuka

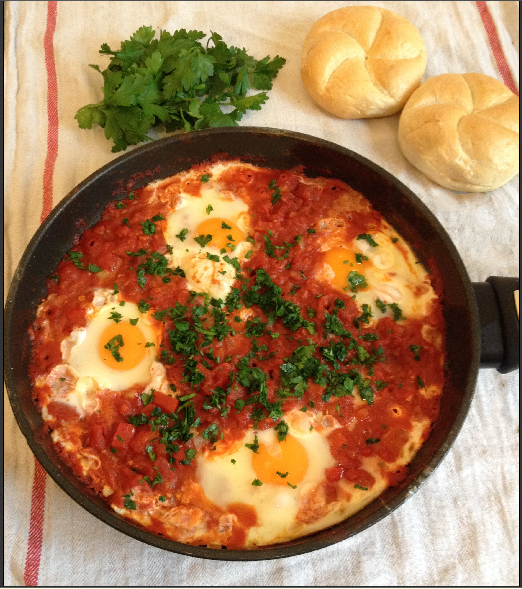
shakshuka

The first time I tried Shakshuka, I was at a friend’s boat party in Paris. Apartment prices in the French capital being pretty crazy, a group of friends decided to just live on a boat. With no neighbours to annoy, they threw pretty legendary parties. Once this Israeli guy came and was kind enough to make us a traditional speciality from his country.

To be honest, when he mentioned mixing tomato sauce and eggs together, I was extremely sceptical and pretty much only tried it to be polite. And I’m glad I did, because it was delicious. Shakshuka, which means “mixture” in Arabic slang, is pretty much just that, as this dish is super versatile. Personally, I like to toss in some spinach to add iron to this high-protein and low-carb dish. Shakshuka is also cheap to make and you only need one pan, making it an ideal midweek lunch or dinner which I lived on for the rest of my student days.

Ingredients

  • 1 onion, finely chopped
  • 3 cloves of garlic, pressed or finely chopped
  • 1 1/2 cans of chopped tinned tomatoes
  • 1/2 a stockcube, crumbled
  • Teaspoon of dried basil, mixed herbs or parsley
  • 4 bunches of frozen spinach (optional)
  • 4 eggs
  • Handful of chopped, fresh parsley to garnish (optional)

Method

1. Fry the onion and garlic in a pan with some oil for a couple of minutes.

2. Pour over the tinned tomatoes and stir.

3. Sprinkle a stockcube and herbs into the tomato sauce.

4. If applicable, toss in the frozen spinach and allow the sauce to simmer until the spinach has de-thawed, stirring regularly.

5. This is the ever so slightly tricky part. Spoon some of the mixture out of the way to make an egg-sized hole, then crack an egg into the mixture. It’s not the end of the world if the egg sits on top of the mixture, but if the egg has direct contact with the bottom of the pan it fries more quickly, which reduces the liklihood of you burning the sauce. Allow to simmer for around 8 minutes or until the eggs look done.

6. Garnish with fresh parsley and serve with crusty bread (unless you’re on a New Year low carb diet, of course!).


Cauliflower “rice”

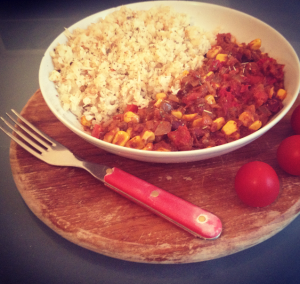
vegan chili with cauliflower rice

There is a way to enjoy curry or chilli without feeling like you’re about to give birth to a baby rhinoceros afterwards – and it involves ditching the carbs for cauliflower. Essentially grated cauliflower sautéd in garlic, cauliflower rice is a great accompaniment to spicy food and is far more nutritious than traditional alternatives such as rice and bread.

Aside from being low in calories and carbs and high in fibre, cauliflower also contains phyto-chemicals like sulforaphane and plant sterols such asindole-3-carbinol which prevent cancer. Oh, and it’s also good for your brain apparently. So cauliflower : 1, rice : 0.

Does it taste exactly like rice? In a word, no. In my opinion, cauliflower rice tastes better. It’s a bit like comparing a bean burger to a beef burger – it’s never going to taste the same, but nevertheless you will still enjoy it and may even prefer it. I know I did.

For other low-carb, healthy versions of your favourite treats, try my cauliflower-crust pizza and spicy bean burger.

Ingredients

1 cauliflower head, with the leaves and stalk removed
3 cloves of garlic, pressed or finely chopped
Salt and pepper to taste
parsley, coriander or chives to garnish (optional)

Pro-tip: feel free to experiment with ginger, coriander, turmeric, lemon and other exciting flavours!

Serves: 3 people

Method

1. Using a cheese grater or food processor, grate the cauliflower florets into small strips. I used the medium-sized holes of the grater, like when normally grating cheese.

2. Fry some garlic in a pan for a minute, and stir frequently so that it doesn’t stick to the bottom and burn.

3. When the garlic is sizzling nicely, toss in the cauliflower.

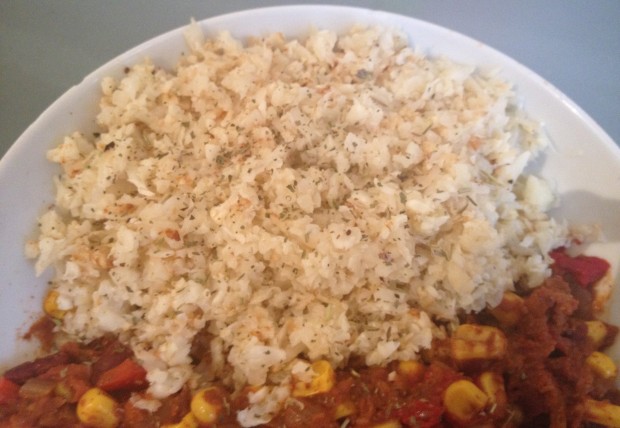
4. Fry for around 10 minutes, stirring frequently, season with salt and pepper then serve. It should turn out like this:

cauliflower rice


Tomato and chickpea chana masala


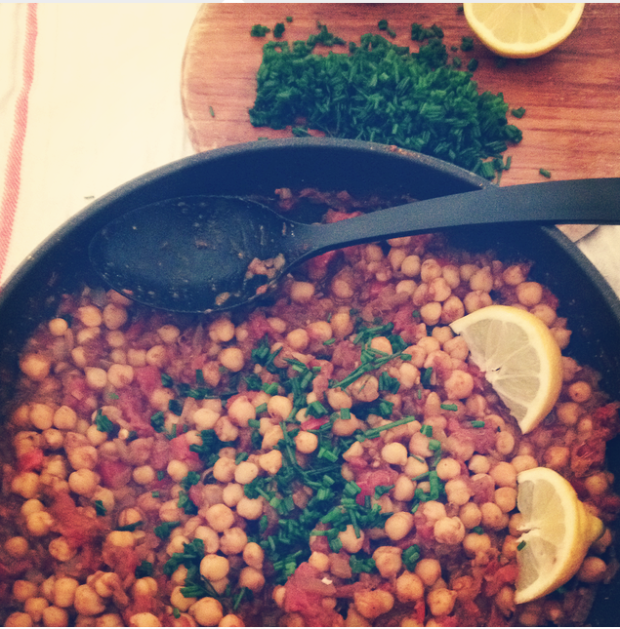
Tomato and chickpea chana masala

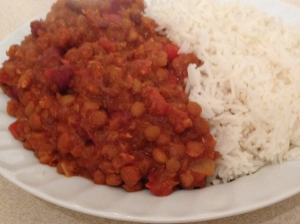
My local take-out place is now in new hands and offers Indian food. Skimming through the menu, I realised that “chana masala” sounded pretty good – I mean, how can anything with tomatoes and chickpeas (one of my all-time favourite foods and an awesome source of protein, by the way), be anything other than super tasty? Anyway, rather than order take-out I decided to try and make my own version of this popular vegan Punjabi dish, and I’m glad I did.

Although I’ve always been a huge fan of eating Indian food, until recently I felt too intimidated to try putting my own dishes together. One of the things that put me off Indian food for so long was the inevitably long ingredients list full of herbs and spices which I’d never heard of. Well, the good news is that most products are available at large supermarkets and individually spices are not too expensive, so you can build up your stock over time without breaking the bank. Plus they last for ages and take about as much effort to use and salt and pepper, so they’re a very worthwhile investment if you fancy exploring different cuisines and playing with different flavours.

Ingredients

1 large onion, finely chopped
3 cloves of garlic, pressed or very finely chopped
1 tablespoon fresh ginger, peeled and very finely chopped
1 red chilli pepper/chili, finely chopped but not de-seeded
2 teaspoons garam masala
1 1/2 teaspoons ground coriander
1 teaspoon cumin
1/2 teaspoon turmeric
1 can tinned tomatoes (I used whole peeled, but chopped would also work)
2 cans of chickpeas, drained
2 pinches of salt
Chives, parsley or coriander to garnish

Serves: 2

Method:

1. Fry the onions and garlic in some oil, then throw in the ginger and red chilli pepper.

2. Stir in the herbs and spices then allow to sauté for 5 minutes.

3. Pour in the tinned tomatoes then roughly chop them up using a wooden spoon.

4. Toss in the chickpeas then allow the mixture to simmer for around 10 minutes.

5. Garnish with chives or parsley then serve with lemon and garlic rice or basmati or brown rice, lemon wedges and plenty of warm naan bread.

Tomato and mozzarella croissants

croissants final

If a British cheese and tomato toastie and a French croissant did something too X-rated to write about in this blog, I’m pretty sure their offspring would turn out like this. Tomato and mozzarella croissants may look impressive, but they are surprisingly quick to prepare and don’t require many ingredients. Savoury croissants are perfect for  when you fancy a quick mid-afternoon snack or are having friends over for brunch – people will never know that you haven’t been slaving away in the kitchen all morning!

Ingredients:

– 1 sheet of puff pastry, thawed
– red pesto (approx 1 tablespoon pro croissant)
– 6 cherry tomatoes, finely cut into small circles
– grated mozzarella
– sprinkle of parsley or basil or mixed herbs (optional)
– 1 egg, beaten

(makes 6)

Pro-tip: If you have any puff-pastry left afterwards, give my tomato, courgette and feta tart a try!

Method:

1. Pre-heat the oven to 180°C.

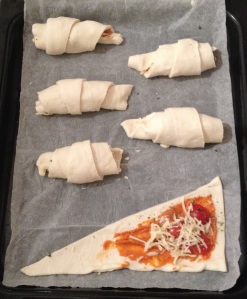
2. Cut a sheet of puff pastry into thirds, then cut each third diagonally so it forms two triangles. A picture speaks a thousand words, so here’s one specially for you:

step2

3. Spread a thin layer of pesto over the wider half of the triangle, then top with three tomato slices, cheese and herbs. Less is more, otherwise the next step will get seriously messy!

step3

4. Starting with the wider end, roll up the pastry horizontally towards the thinner end, until the tip lies underneath the rest.

5. Finally, lightly top the pastry with beaten egg (or milk would probably work as well) using a pastry brush. I nearly forgot this stage, but I’m glad I hastily retrieved the croissants from the oven just in time, or they wouldn’t have turned out so crispy and golden!

6. Bake in the oven for around 20 minutes or until golden then enjoy warm or cold. Just try to exercise more self-control that I did (by the time my boyfriend went to grab seconds, I’d already eaten 4….).


Thanks to Meggan’s banana and nutella croissants for the inspiration (and expanding waistline!).

Stuffed baked potato

stuffed baked potato

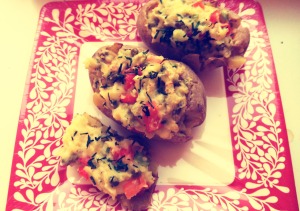
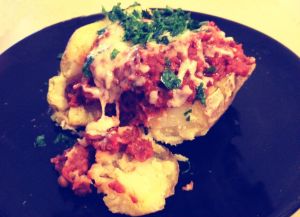
When trying to come up with a winter-warmer that could be made quickly and cheaply, I decided to try out this recipe from my childhood. It didn’t disappoint. Stuffed baked potato is classic comfort food on a cold autumn night in – yet also full of fibre and nutrients.

Ingredients:

– large potato
– butter
– cheddar cheese, grated
– splash of milk
– chives, finely chopped
– spring onion, finely chopped
– red pepper, diced
– canned peas
– salt and pepper

Get your vegan on: swap the butter, cheese and milk for hummus, as seen in my hummus mash recipe.

Method:

1. Clean a large potato and prick the skin a few times with a fork before popping it in the microwave for around 10-12 minutes, or until the inside is soft.

2. Meanwhile, fry the spring onion, pepper and peas in some cooking oil.

3. When the potato is nice and soft, slice the skin off the upper side of the potato then scoop out the insides into a bowl.

4. Mash the potato with a fork or masher then add butter, cheese and milk before thoroughly mashing some more.

5. Mix the potato and vegetable mixture then season with salt and pepper.

6. Spoon the mixture back into the potato skins.

7. Microwave for 2 minutes or, for best results and a super crispy skin, bake in the oven for 10 minutes.

jacket potato

Lentil and kidney bean chilli

Vegetarian chilli


Lentil and chickpea chilli is the perfect winter warmer for a meal in with friends or family and also surprisingly simple to throw together.

Back when I first turned vegetarian – and long before I discovered this vegan chilli recipe – I very nearly had a “moment of weakness” and ate the chilli my meat-eating parents had made for themselves. Luckily I resisted – or more accurately, they insisted it was too late as they’d already put a veggie burger on for me. Not something I’m particularly proud of, but in my defence I was only 9! Up until recently, friends eating chilli was always guaranteed to induce serious “food-envy” on my part. However, I don’t need to feel jealous anymore, as this vegetarian chilli comes pretty damn close to real thing.

Ingredients:

1 1/2 onions
4 cloves garlic
2 red chillis (a hot pepper, for my dear US-based readers)
2 tablespoons of chilli powder
2 tablespoons of ground cumin
2 tablespoons of oregano
1 teaspoon of cinnamon
1 carton of pasata (or 1 can of tinned tomatoes)
2 tablespoons tomato purée
1 can of lentils
1 can of kidney beans
500ml vegetable stock
salt and pepper to taste

Pro tip: boost your veggie count by throwing in some carrots, courgettes (zucchini) and mushrooms then garnish with coriander  (cilantro).

Method:

1. Fry the onions, garlic and chillis in some oil.

2. Add in the chilli powder, herbs and cinnamon then allow to fry for another couple of minutes, so that the flavours infuse.

3. Pour in the pasata then stir in the tomato purée.

4. Strain the lentils and kidney beans into a sieve then throw them into the chilli.

5. Boil 50ml of water then crumble in a stock cube.

6. Add the stock mixture to the chilli and leave to simmer, stirring occasionally, until the excess water has evaporated and correct consistency has been achieved.

7. Season to taste and serve with rice and garlic or naan bread.

Bonus: the left-overs taste amazing the next day over a jacket potato!

Chilli, cheddar cheese and chopped parsley over a freshly baked jacket potato.

Chilli, cheddar cheese and chopped parsley over a freshly baked jacket potato.

Adapted from Keryann’s chilli con veggie on the Jamie Oliver website.

Egg fried rice

Simple yet delicious Asian-inspired recipe


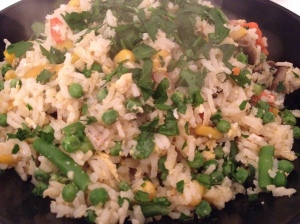
Egg-fried rice is a super-simple yet delicious Chinese classic that’s perfect for when you’re short on time, money or ingredients.

For the longest time, I used to order egg fried rice from the local Chinese take-out place. And to be honest, I have no idea why. Throw rice, eggs and some veggies into one pan and you’re done – you can’t get much easier than that. In fact, I’d even go as far to say that egg fried rice is probably the most straightforward and economic recipe on my blog so far.

The other egg-cellent (sorry) thing about this recipe is its nutritional value, as eggs are now officially a superfood according to leading nutritionists and scientists. Not only did the whole cholestrol thing turn out to be untrue, eggs are one of the most nutrition-dense foods on the planet and are packed with protein and iron. Eating one a day can even help you lose weight!

Although you can use fresh or frozen vegetables for this recipe, I personally used frozen. This wasn’t just me being lazy (OK, maybe partly that) as scientists have proven that frozen vegetables are just as nutritious as fresh vegetables, if not more so. This is because the supposedly “fresh” vegetables that you find on supermarket shelves are in fact around 9 days old – and have therefore lost around half of their nutrition content. By contrast, freezing removes only 10% of their nutritional value. So you can take advantage of this super handy life-hack without feeling guilty!

Ingredients

  •  rice (de-frosted in the microwave or chilled from the fridge)
  •  2 eggs
  •  3 cloves of garlic
  •  bag of frozen vegetables, including peas, green beans, sweetcorn, peppers, broccoli, mushrooms, carrots etc
  •  salt and pepper to taste

Pro tip: Serve with fresh chives, spring onion and soy sauce for that extra kick.

Preparing the rice:

For best results, use left-over rice. Since rice can be frozen, I tend to make loads in bulk and then de-frost it as and when. This is way quicker than cooking it to order every time you make a curry or stir-fry. The other up-side is that frozen rice is easier to work with and keeps its rice-like texture instead of going sticky when mixed with egg.

However, if you don’t have any leftover rice to hand, simply boil the water, cook the rice on a low heat with the lid on for around 10 minutes until the water has evaporated, then pour into a sieve. Rinse with cold water and stick it in the fridge for a couple of hours.

Method:

1. Toss frozen vegetables onto one side of the pan with some cooking oil and allow to cook for around 10 minutes, or as per packet instructions.

2. On the other side of the pan,  fry the de-frosted rice and garlic for around 2 minutes.

3. Whisk two eggs in a cup, then pour into the rice before seasoning generously with salt and pepper. Stir regularly to prevent the rice sticking to the bottom of the pan.

4. Serve, then grab your chop sticks and tuck in!

Egg fried rice recipe